

To pack a kitchen for moving efficiently, purge non-perishable pantry items two weeks prior, assemble an essential “Day-One” box for immediate cooking needs, and pack fragile glassware inside double-walled 5.2 cu. ft. dishpack boxes. Always align ceramic plates vertically on their edges, sheath sharp knife blades securely, bundle loose utensils with stretch wrap, and cap total box weights at 50 lbs to prevent box failure.
Partnering with an experienced professional moving company ensures fragile cookware and heavy appliances transition safely without breakage. Whether you are relocating between different local moving locations or preparing for an interstate move, following a structured packing framework protects your high-value kitchenware.
What You Need to Pack Your Kitchen:
- Dishpack Containers: 5.2 cu. ft. double-walled 350 lb test corrugated cardboard cartons for fragile glassware.
- Medium Moving Cartons: Standard 3.0 cu. ft. boxes for pots, pans, and small appliances.
- Small Heavy-Duty Cartons: 1.5 cu. ft. boxes for dense items like canned goods, spices, and heavy metalware.
- Unprinted Newsprint Paper: 25 lb bundle of 24 x 36-inch clean wrapping sheets (avoid ink-printed newspaper).
- Bubble Wrap Rolls: 3/16-inch small bubble wrap for delicate glass and 1/2-inch large bubble wrap for appliance bases.
- Cardboard Cell Dividers: Adjustable insert grids designed for stemware, mugs, and glass bottles.
- Heavy-Duty Packing Tape: 2-inch commercial acrylic tape (minimum 2.0 mil thickness).
- Plastic Stretch Wrap: 5-inch mini stretch film rolls to lock drawer trays and bundle long utensils.
Phase 1: Pre-Packing Strategy and Essential Kitchen Supplies
Booking local moving services well in advance allows homeowners and renters to execute a phased kitchen packing strategy. The kitchen contains more individual items than any other room in a home, making early preparation essential when discovering how to pack kitchen for moving.
The Pantry Audit and Decluttering (2 Weeks Prior)
Plan meals around existing pantry inventory two weeks before moving day. Consume open grain boxes, frozen meats, canned soups, and condiments to reduce gross box weight. Donate unopened, unexpired dry goods to local food banks, and properly dispose of expired oils, baking powders, and opened sauces.
The “Day-One” Kitchen Essentials Box
Pack a dedicated 3.0 cu. ft. container marked “OPEN FIRST” containing basic survival items for your first night in the new home. Include 1 non-stick skillet, 1 chef knife, 1 cutting board, paper plates, disposable utensils, dish soap, 2 microfiber sponges, a manual can opener, a kitchen towel, and your morning coffee maker with mugs. Keep this container inside your personal vehicle rather than loading it onto the moving truck.
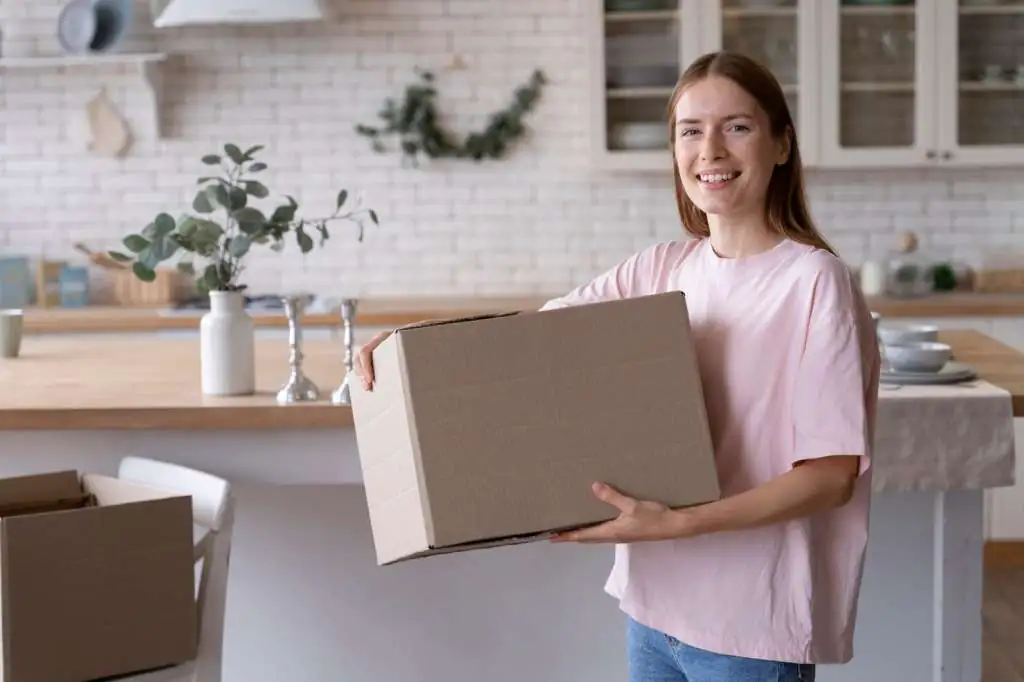
How to Pack Kitchen Items for Moving: Step-by-Step Protocols
Learning how to pack kitchen items for moving requires distinct wrapping methods depending on fragility, weight, and edge sharpness.
How to Pack Dishes, Stemware, and Glassware
Never stack ceramic, porcelain, or stoneware plates flat on top of each other inside a carton, as flat placement increases shock susceptibility. Build a 4-inch shock-absorbing base of crumpled newsprint paper at the bottom of a 5.2 cu. ft. double-walled dishpack box. Wrap each plate individually in two sheets of 24 x 36-inch unprinted paper. Stand plates vertically on their side edges inside the carton, placing heavy dinner plates at the base layer and lighter salad plates on upper tiers.
Insert cardboard cell dividers into top tiers to pack delicate stemware and drinking glasses. Wrap each wine glass individually in 3/16-inch bubble wrap, tucking paper inside the cup cavity to reinforce structural integrity. Insert glasses stems-down into individual cell compartments, filling top voids with crumpled paper until the lid exerts slight downward pressure when closed.
How to Pack Kitchen Knives for Moving
Knowing how to pack kitchen knives for moving is critical for personal safety and blade preservation. Lay a chef knife flat on a heavy cotton dish towel or thick cardboard sheath, roll the fabric tightly around the blade, and secure it with heavy rubber bands or painter’s tape. Alternatively, slide blades inside molded plastic knife guards, wrap the assembly in 3/16-inch bubble wrap, and label the package explicitly as “DANGER: SHARP KNIVES” in bright red marker before placing it horizontally near the top layer of a medium carton.
How to Pack Kitchen Utensils and Miscellaneous Items
Executing how to pack kitchen utensils for moving efficiently keeps small gadgets organized. Bundle long spatulas, wooden spoons, ladles, whisking tools, and tongs together using heavy rubber bands or 5-inch plastic stretch film. Leave silver cutlery inside plastic drawer organizer trays, wrap the entire tray tightly in multiple layers of stretch film to lock items in place, and lay the tray flat inside a 3.0 cu. ft. box. This method saves significant unpacking time when organizing how to pack kitchen stuff for moving.
How to Pack Pots, Pans, and Bakeware
When determining how to pack kitchenware for moving, nest metal cookware by size to maximize interior box volume. Place a large 8-quart stockpot at the base of a 3.0 cu. ft. medium box, insert two sheets of packing paper inside the basin, and nest a smaller 4-quart saucepan within it. Wrap glass saucepan lids individually in bubble wrap and stand them vertically along the perimeter walls of the container. Avoid placing heavy cast-iron skillets directly above fragile glass bakeware or Pyrex casserole dishes.

How to Pack Kitchen Appliances for Moving
Understanding how to pack kitchen appliances for moving prevents damage to delicate heating elements, glass carafes, and internal drive motors.
How to Pack Small Kitchen Appliances for Moving
To master how to pack small kitchen appliances for moving, clean and dry all blenders, air fryers, food processors, and toaster ovens completely. Remove removable blades, glass pitchers, and crumb trays, wrapping them separately in newsprint paper. Wind electric power cords neatly, binding them with twist ties or securing them to the appliance body with blue painter’s tape to prevent cord chafing. Place appliances upright in 1.5 or 3.0 cu. ft. cartons cushioned with 3 inches of crumpled paper at the base.
How to Pack a KitchenAid Stand Mixer for Moving
Learning how to pack a kitchen aid for moving requires special care due to its heavy 20+ lb cast-iron frame and top-heavy tilt mechanism. Lock the tilt-head securely in the down position using the side locking lever. Remove the stainless steel or glass mixing bowl, wire whip, and flat beater attachment, wrapping them separately in paper. Place the stand mixer upright inside a heavy-duty 1.5 cu. ft. small moving box padded with 4 inches of dense bubble wrap on all sides. Center the weight so the carton does not tip over during transit.
Preparing Major Appliances for Transport
When determining how to pack up kitchen for moving, major appliances demand 48 hours of advance preparation. Unplug refrigerators and freezers 24 to 48 hours before moving day to defrost evaporator coils completely. Wipe down interior walls to eliminate moisture and prevent mold growth during transport. Secure oven racks, tape cooktop burner grates down with painter’s tape, and disconnect dishwasher water supply lines, draining remaining water into a shallow pan.
Recommended Box Specifications and Packing Matrix
Selecting purpose-built containers balances protection levels and handling safety during residential transit.
|
Container Type |
Volume / Spec |
Max Weight |
Ideal Kitchen Contents |
Primary Packing Strategy |
|
Dishpack Box |
5.2 cu. ft. / Double-Walled |
50 lbs |
China, stoneware, stemware, Pyrex |
Vertical plate alignment, 4″ paper base |
|
Small Heavy Box |
1.5 cu. ft. / Single-Walled |
40-50 lbs |
Canned goods, spices, KitchenAid mixer |
High-density items, centered weight |
|
Medium Box |
3.0 cu. ft. / Single-Walled |
40 lbs |
Pots, pans, small appliances, utensils |
Nesting layers, void filling with paper |
|
Large Box |
4.5 cu. ft. / Single-Walled |
30-35 lbs |
Tupperware, dish towels, paper goods |
Low-density items only; avoid heavy glass |
Do’s and Don’ts When Packing Up Kitchen for Moving
Mastering how to pack up a kitchen for moving requires avoiding structural mistakes that lead to broken glassware or crushed cartons.
- DO use double-walled dishpack boxes specifically designed for fragile china and stemware when executing how to pack your kitchen for moving.
- DO seal the bottom seams of every kitchen box with three overlapping strips of 2-inch acrylic packing tape using the H-taping method.
- DO label every carton on two side panels with clear room designations and handling instructions (“KITCHEN – FRAGILE – THIS SIDE UP”).
- DON’T pack unsealed liquid oil, vinegar, or glass sauce bottles inside general cartons without placing them in sealed zip-top bags first.
- DON’T exceed 50 lbs per container when discovering how to best pack kitchen for moving to avoid cardboard tears and worker injuries.
- DON’T use printed newspaper directly against delicate china, as carbon ink will transfer and permanently stain porous glazes.
Advanced Storage, Loading, and Transit Safety Considerations
When collaborating with an experienced apartment moving team or selecting corporate commercial moving options, proper load balancing inside the moving vehicle protects heavy box tiers from shifting.
Place double-walled dishpacks and heavy 1.5 cu. ft. cartons directly on the truck bed floor against the bulkhead. Never stack heavy appliance cartons on top of lighter medium boxes containing pots or plasticware. When storing kitchen boxes in long-term storage facilities, ensure temperature and humidity controls are active to prevent wooden cutting boards from warping and stainless steel appliances from corroding. Knowing how to pack kitchen when moving includes factoring in environmental stability during extended transit.

Frequently Asked Questions
How far in advance should I start packing my kitchen for a move?
You should begin planning and packing non-essential kitchen items (such as fine china, seasonal gadgets, surplus cookbooks, and specialty stemware) approximately 2 to 3 weeks before moving day. Leave essential daily cookware, 1 plate per person, and everyday utensils unpacked until 2 days before your scheduled move.
What is the best way to pack open food items and spices?
Inspect expiration dates and discard expired items. For open spice jars and baking powders, wipe threads clean, seal lids tightly, and place jars inside sealable plastic storage bags before packing them upright in small 1.5 cu. ft. cartons lined with paper padding.
How do you pack glass baking dishes and Pyrex safely?
Wrap each Pyrex or glass casserole dish individually in two layers of 3/16-inch small bubble wrap, securing edges with tape. Place heavy Pyrex dishes vertically or flat at the bottom of a dishpack container over a 3-inch layer of crumpled packing paper, ensuring lighter items rest above them.
Can you leave items inside kitchen drawers when moving?
No. Kitchen drawers contain sharp utensils, loose items, and heavy gadgets that shift during transport, damaging cabinet slides and internal drawer housing. Empty all drawers completely into organized cartons using stretch film to lock organizers in place.
Final Kitchen Packing Checklist and Expert Moving Support
Completing how to pack the kitchen for moving systematically guarantees a seamless transition into your new home.
- Purge Pantry and Perishables: Consume or donate open food items two weeks prior to moving day.
- Prepare an Essentials Box: Keep daily cookware, paper goods, and coffee makers accessible in your personal car.
- Reinforce Dishpack Bases: Apply H-taping on double-walled 5.2 cu. ft. containers using 2-inch commercial tape.
- Wrap and Align Vertically: Stand plates on edge and thread glasses stem-down into cardboard cell dividers.
- Secure Appliances and Blades: Lock mixer heads, sheath knives, and wrap electric power cords tightly.
Packing a functional kitchen requires structured planning and durable packing materials. For full-service packing support, custom crating for high-value antiques, or seamless residential relocation, contact Bees Moving ST today to request your free moving estimate!
2026 moving trends: moving checklists are becoming more digital, deadline-driven, and inventory-focused. For the smoothest move, confirm elevator reservations, parking permits, utility transfers, packing priorities, and donation or disposal plans early, then keep a shared checklist updated on your phone so every important task stays visible before moving day.