

To pack pans for moving, pad the bottom of a 1.5 to 3.0 cu. ft. box with 3 inches of crumpled paper, nest up to three padded pans by placing 2-3 sheets of unprinted newsprint between them, and pack heavy pans flat at the bottom. Keep total box weight under 45 lbs to avoid box failure.
Hiring a professional moving company guarantees your kitchenware arrives undamaged. Whether transferring between local moving locations or moving long-distance, proper wrapping keeps cookware scratch-free.
What You’ll Need:
- 1.5–3.0 cu. ft. Boxes: Heavy-duty corrugated boxes rated up to 50 lbs.
- Unprinted Packing Paper: 24 x 36-inch newsprint sheets for surface protection.
- 3/16-Inch Bubble Wrap: Cushioning for glass lids and ceramic finishes.
- 2-Inch Packing Tape: Commercial acrylic tape for box bottom reinforcement.
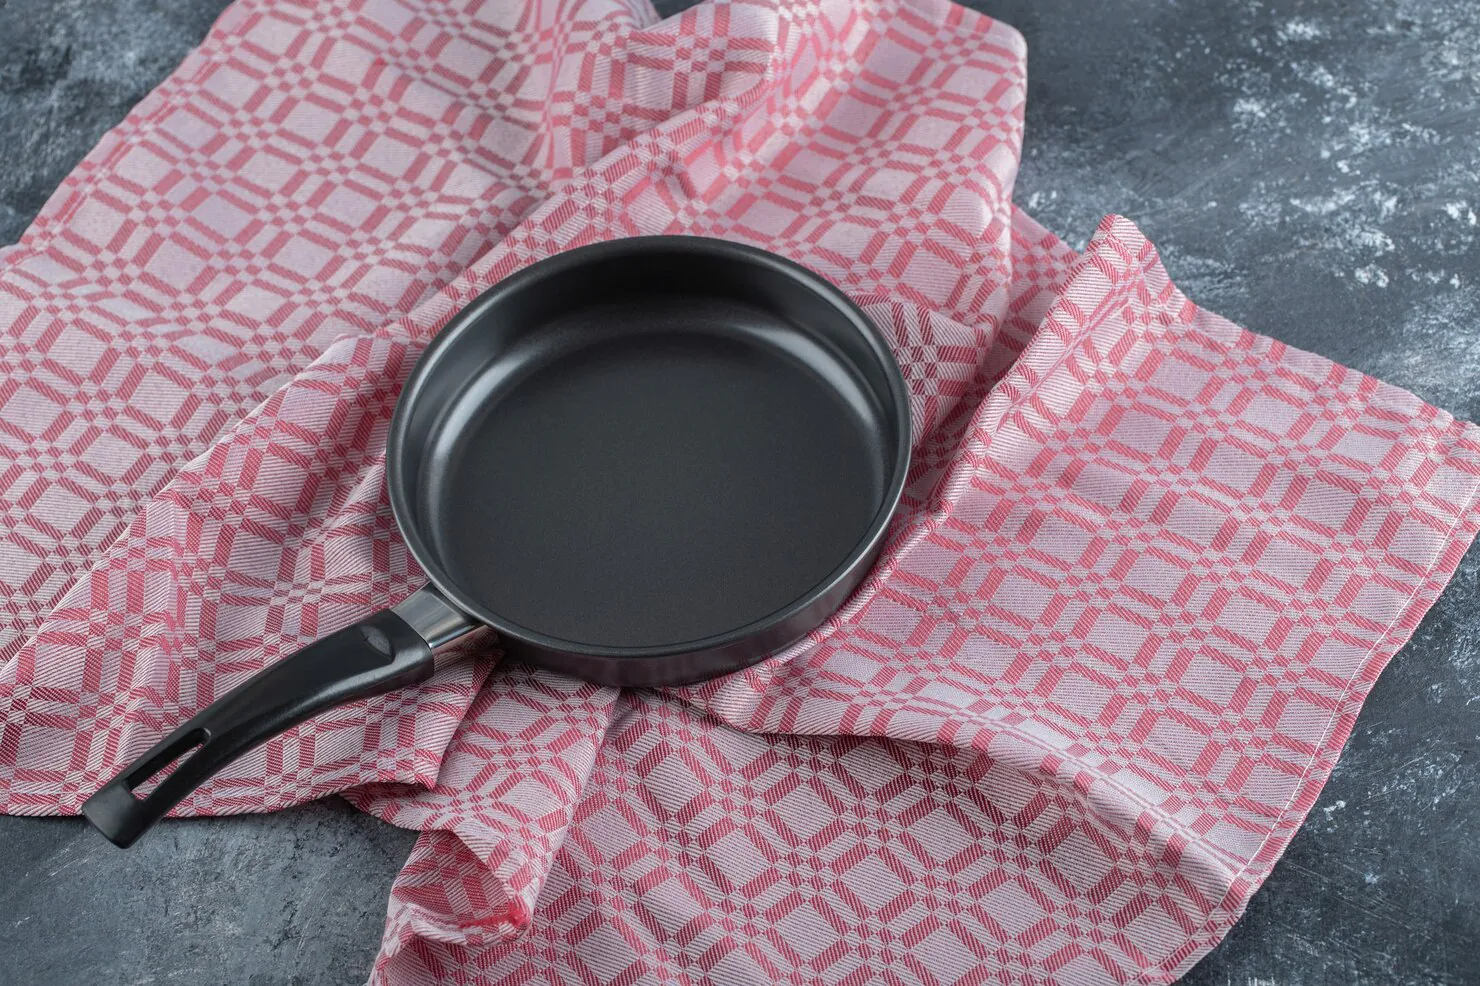
Step-by-Step Guide: How to Pack Pans for Moving
Scheduling local moving services simplifies house prep, but applying systematic wrapping methods protects delicate coatings.
Step 1: Nesting Frying Pans with Paper Buffers
Place a large skillet on packing paper, fold paper corners over the interior, and nest a smaller pan inside. Nest a maximum of three pans. Understanding how to pack pans for moving requires buffering every non-stick surface to prevent scratches during transit.
Step 2: Packing Cast Iron Pans and Heavy Skillets
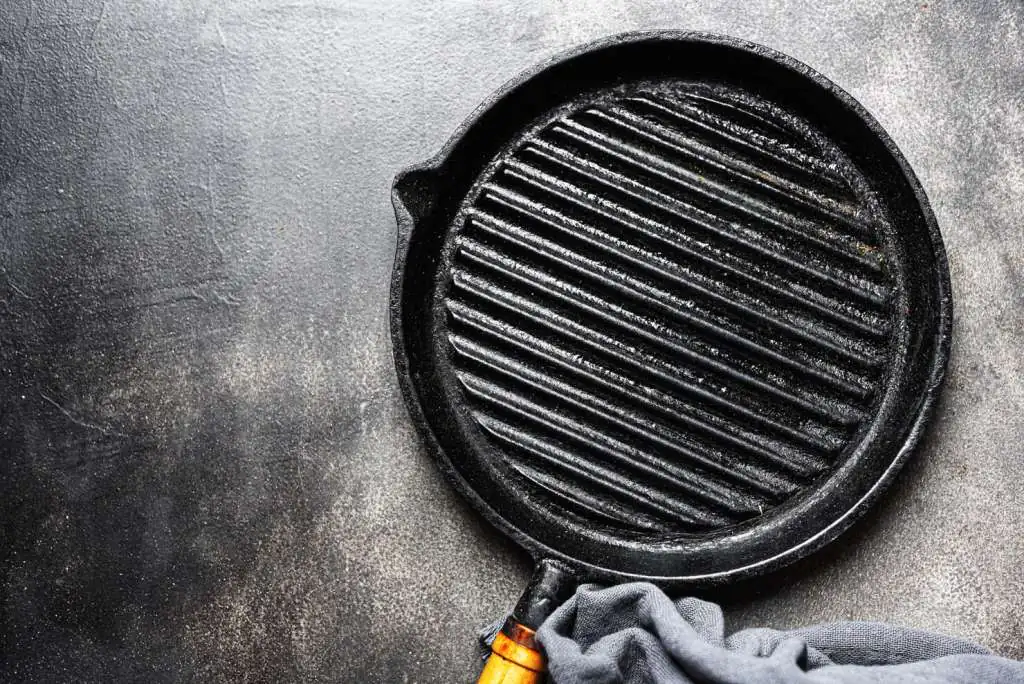
When evaluating how to pack cast iron pans for moving, place heavy skillets flat at the bottom of a 1.5 cu. ft. box. Limit boxes to 2-3 cast iron pieces wrapped individually in paper to prevent box tears when organizing how to pack pans and moving logistics.
Step 3: Packing Baking Pans and Cookie Sheets
Learning how to pack baking pans for moving is straightforward. Wrap baking sheets in packing paper and line them vertically along the inner walls of the box. Vertical alignment absorbs shock better than flat stacking when discovering how to pack pans when moving.
Do’s and Don’ts When Packing Pans
- DO pad box bases with 3 inches of crumpled paper before loading.
- DO wrap pan handles with extra paper padding.
- DON’T mix heavy cast iron with fragile glass lids in the same tier.
- DON’T exceed 45 lbs total weight per kitchen box.
Advanced Transit Safety and Storage Considerations
Working with an experienced apartment moving team or selecting commercial moving options ensures heavy kitchen containers are loaded flat on truck floors against bulkheads. For long-term storage, apply a light coat of food-grade oil to cast iron to prevent rust.
Frequently Asked Questions
What is the best size box for packing cookware?
A 1.5 to 3.0 cu. ft. heavy-duty box is ideal. Smaller boxes prevent dense metal items from making the carton too heavy to carry safely.
How do you prevent non-stick pan surfaces from scratching during a move?
Place 2 to 3 sheets of unprinted packing paper or felt pads between nested pans so metal bases do not rub against non-stick coatings.
Can you stack heavy cast iron pans together in one box?
Yes, but only stack 2 or 3 wrapped cast iron skillets per 1.5 cu. ft. box, placing them flat at the bottom with ample paper padding.
Final Packing Checklist and Professional Moving Solutions
- Pad Box Bottoms: Insert a 3-inch layer of crumpled paper.
- Buffer Nested Pans: Place packing paper between every pan layer.
- Stand Baking Sheets Vertically: Line side walls with flat sheets.
- Seal and Label: Tape bottom seams securely and mark “KITCHEN – HEAVY”.
Protecting kitchen cookware requires structured prep. Contact Bees Moving ST today to request a free moving estimate!
2026 moving trends: moving checklists are becoming more digital, deadline-driven, and inventory-focused. For the smoothest move, confirm elevator reservations, parking permits, utility transfers, packing priorities, and donation or disposal plans early, then keep a shared checklist updated on your phone so every important task stays visible before moving day.